
Adding a Linked Table
To add new Linked Tables, simply right click the database pane or click **Edit** in the main menu, then select **Add Linked Table,** the following form will show: 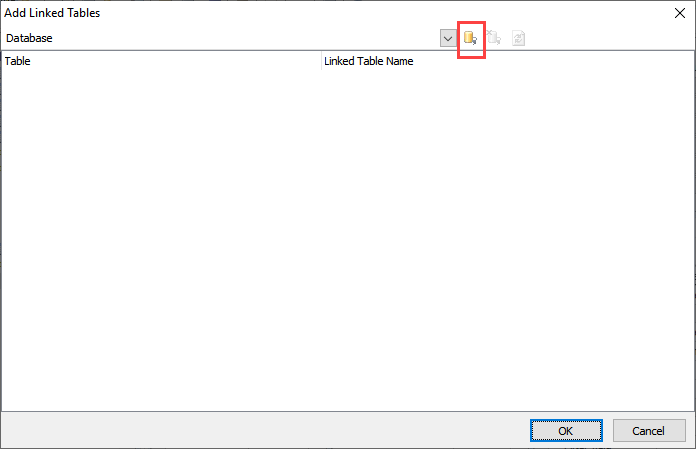 Click the **Add Database** button in the toolbar to add a database. The Database Connection form is same as that in the Database tab, see [Database Setup](dbsetup.html) for detail. 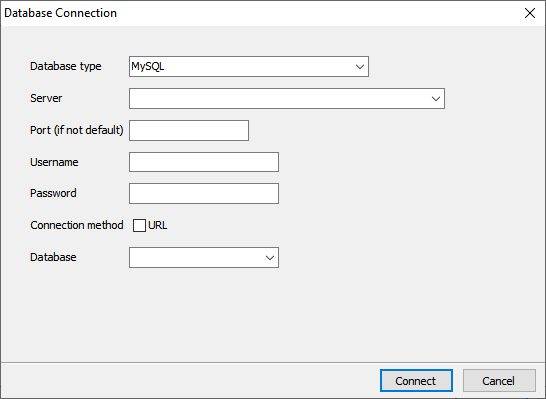 Enter your database connection information and click the **Connect** button to load the database information. The list of tables/views of the selected database will be displayed. 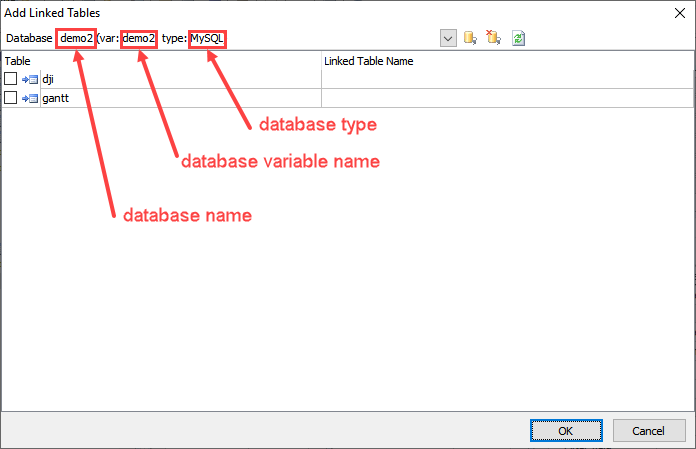 Select the tables/views you need and click **OK.** The selected tables/views will be added to the project as a Linked Table and will appear under the Linked Tables node of the database pane. You can then manipulate the Linked Table as a regular table/view. 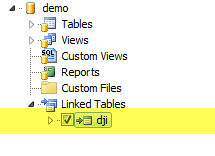 ###### Database Variable Name The database combobox will show the **database name**, the **database variable name** and the **database type**. The **database variable name** is important, it is to be used for retrieving the database information in server side code such as server events (see [Server Events and Client Scripts](customscripts.html)). It is also used as namespace for the entities of the Linked Table. By default it is same as the database name if the database name contains alphanumeric characters and underscore only. Otherwise, the database variable name will be different, with non-alphanumeric characters replaced. If the database name of a Linked Table is same as the main database or database of other Linked Tables, an index will be appended to the database variable name. If your project uses databases with the same name and you need to write server side code, make sure you check the database variable name here.Deleting a Linked Table
To remove a Linked Table from the project, right click the Linked Table in the database pane, and click **Delete Linked Table**. Click "Yes" to confirm deletion. 