
Create Your Application in Azure portal
Sign in to Azure portal, create an application by following these steps: 1. Navigate to **Microsoft Entra ID > Enterprise applications**. 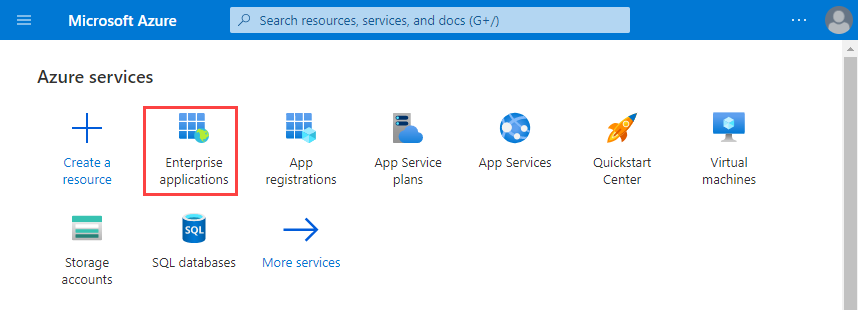 2. Click **New application**. 3. Click **Create your own application**. This opens the **Create your own application** pane. 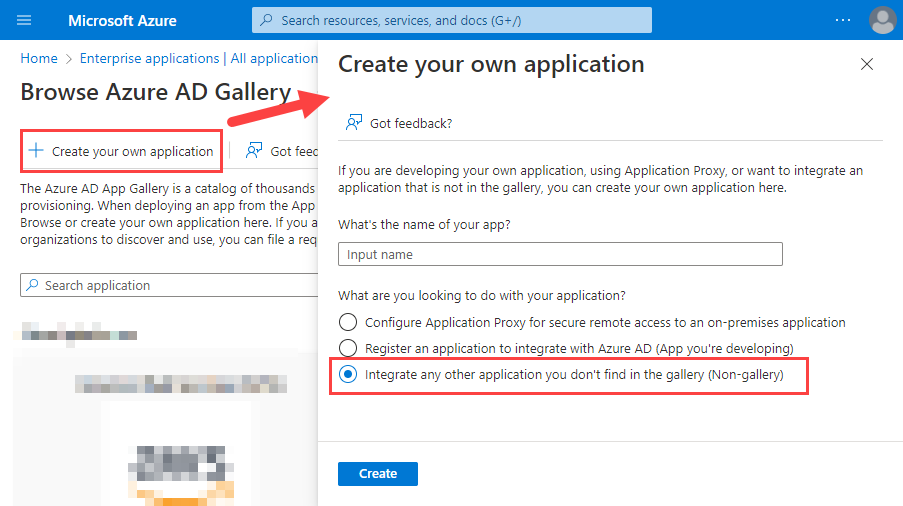 4. Enter a name for your new app. Ensure **Integrate any other application you don't find in the gallery (Non-gallery)** is selected. 5. Click **Create**. When the application's Overview page displays, the application is created. 6. Click **Users and groups**. 7. Click **+Add user/group**. Highlight your choice in the search bar, click **Select**, and click **Assign**. 8. Click **Single sign-on**. 9. Select the **SAML** tile. This opens the **Set up Single Sign-On with SAML** page. 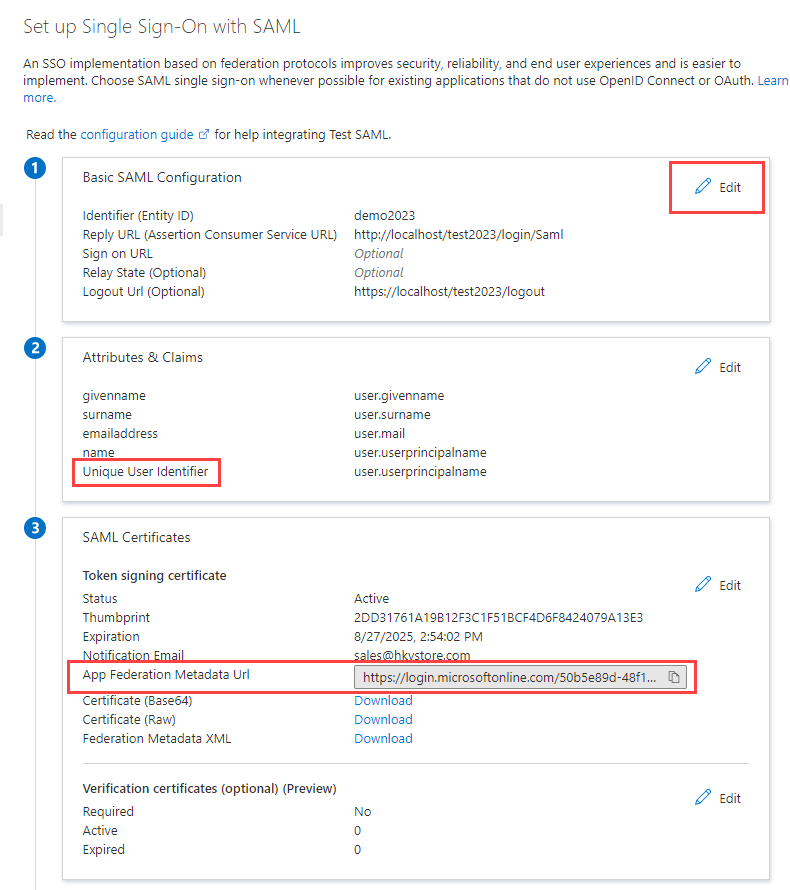 10. In section 1, click **Edit**, enter the values listed below: 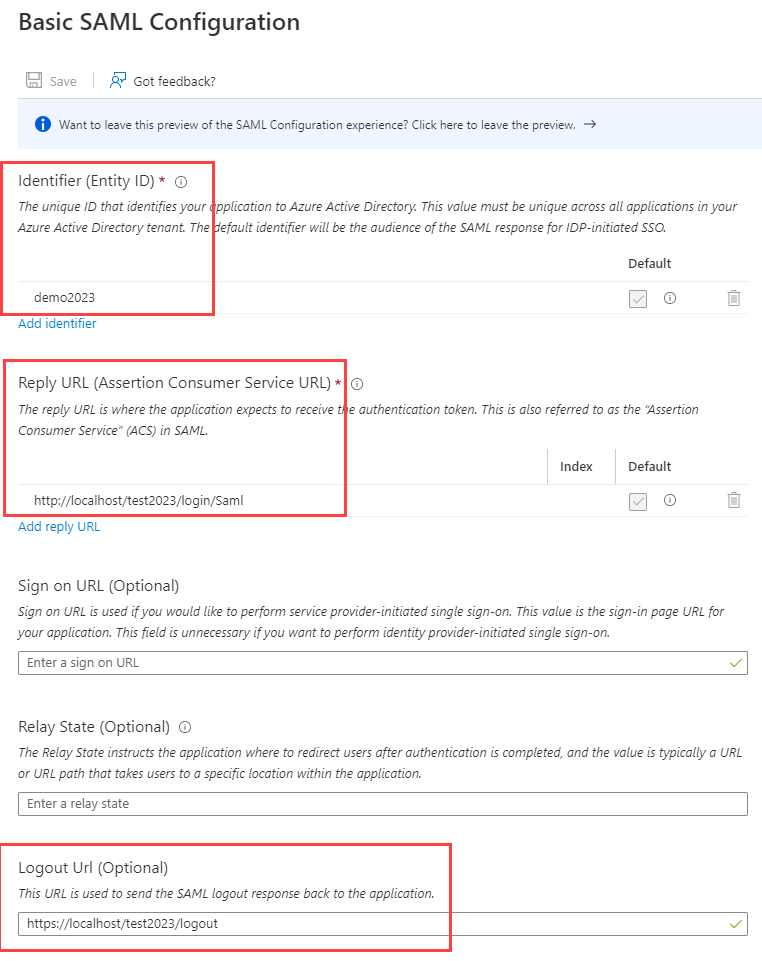 * **Identifier (Entity ID)** - _"demo2026"_ (Replace _"demo2026"_ by your real entity ID) * **Reply URL (Assertion Consumer Service URL)** - `https://www.company.com/basepath/login/check-saml` (Note that `check-saml` is in lowercase.) * **Logout Url (Optional)** - `https://www.company.com/basepath/logout` (Replace `www.company.com/basepath` by your real path. During testing on your PC, you can use `localhost` as the host.) 11. In section 2, ensure that you have the correct Unique User Identifier specified under **Attributes and Claims**. The default user identifer is preconfigured as `user.userprincipalname`. However, depending on your organization, you can also change it as you need. 12. In section 3, copy the **App Federation Metadata Url**.Setup Advanced Settings
Open PHPMaker, click **Tools -> Advanced Settings** and set up the following settings: 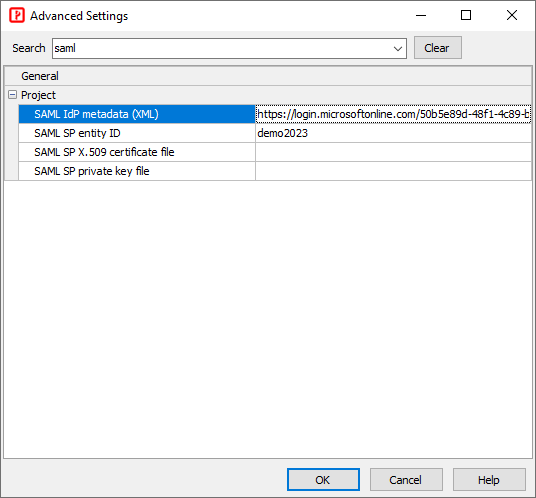 1. **SAML IdP metadata (XML)**: Enter the **App Federation Metadata Url** you copied above. 2. **SAML SP entity ID:** _"demo2026"_ (Replace _"demo2026"_ by your real entity ID) 3. **SAML SP X.509 certificate file**: (Optional) Enter the path of your certificate file for your site (i.e. SP, not Idp). For simplicity, this example does not use certificate file, see advanced settings below for more information. 4. **SAML SP private key file**: (Optional) Enter the path of your private key file for your site (i.e. SP, not Idp). For simplicity, this example does not use private file, see advanced settings below for more information.Test the Application
To test the application, go to the login page of your site, 1. Click **Login with SAML SSO**, 2. When you are redirect to Microsoft login URL, select your account and enter password, 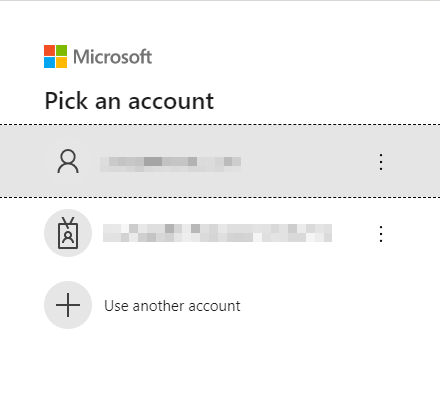  3. After successful login, you will be redirected to the login page of your site. If your advanced security is properly set up, you will be redirected to the Start Page of your site. 4. When you logout, you'll see the follows and then you'll be redirected back to your site. Advanced Settings for SAML
You can also use other SAML IdP such as SimpleSAMLphp and Google Identity Provider, just enter your IdP information to the advanced settings: